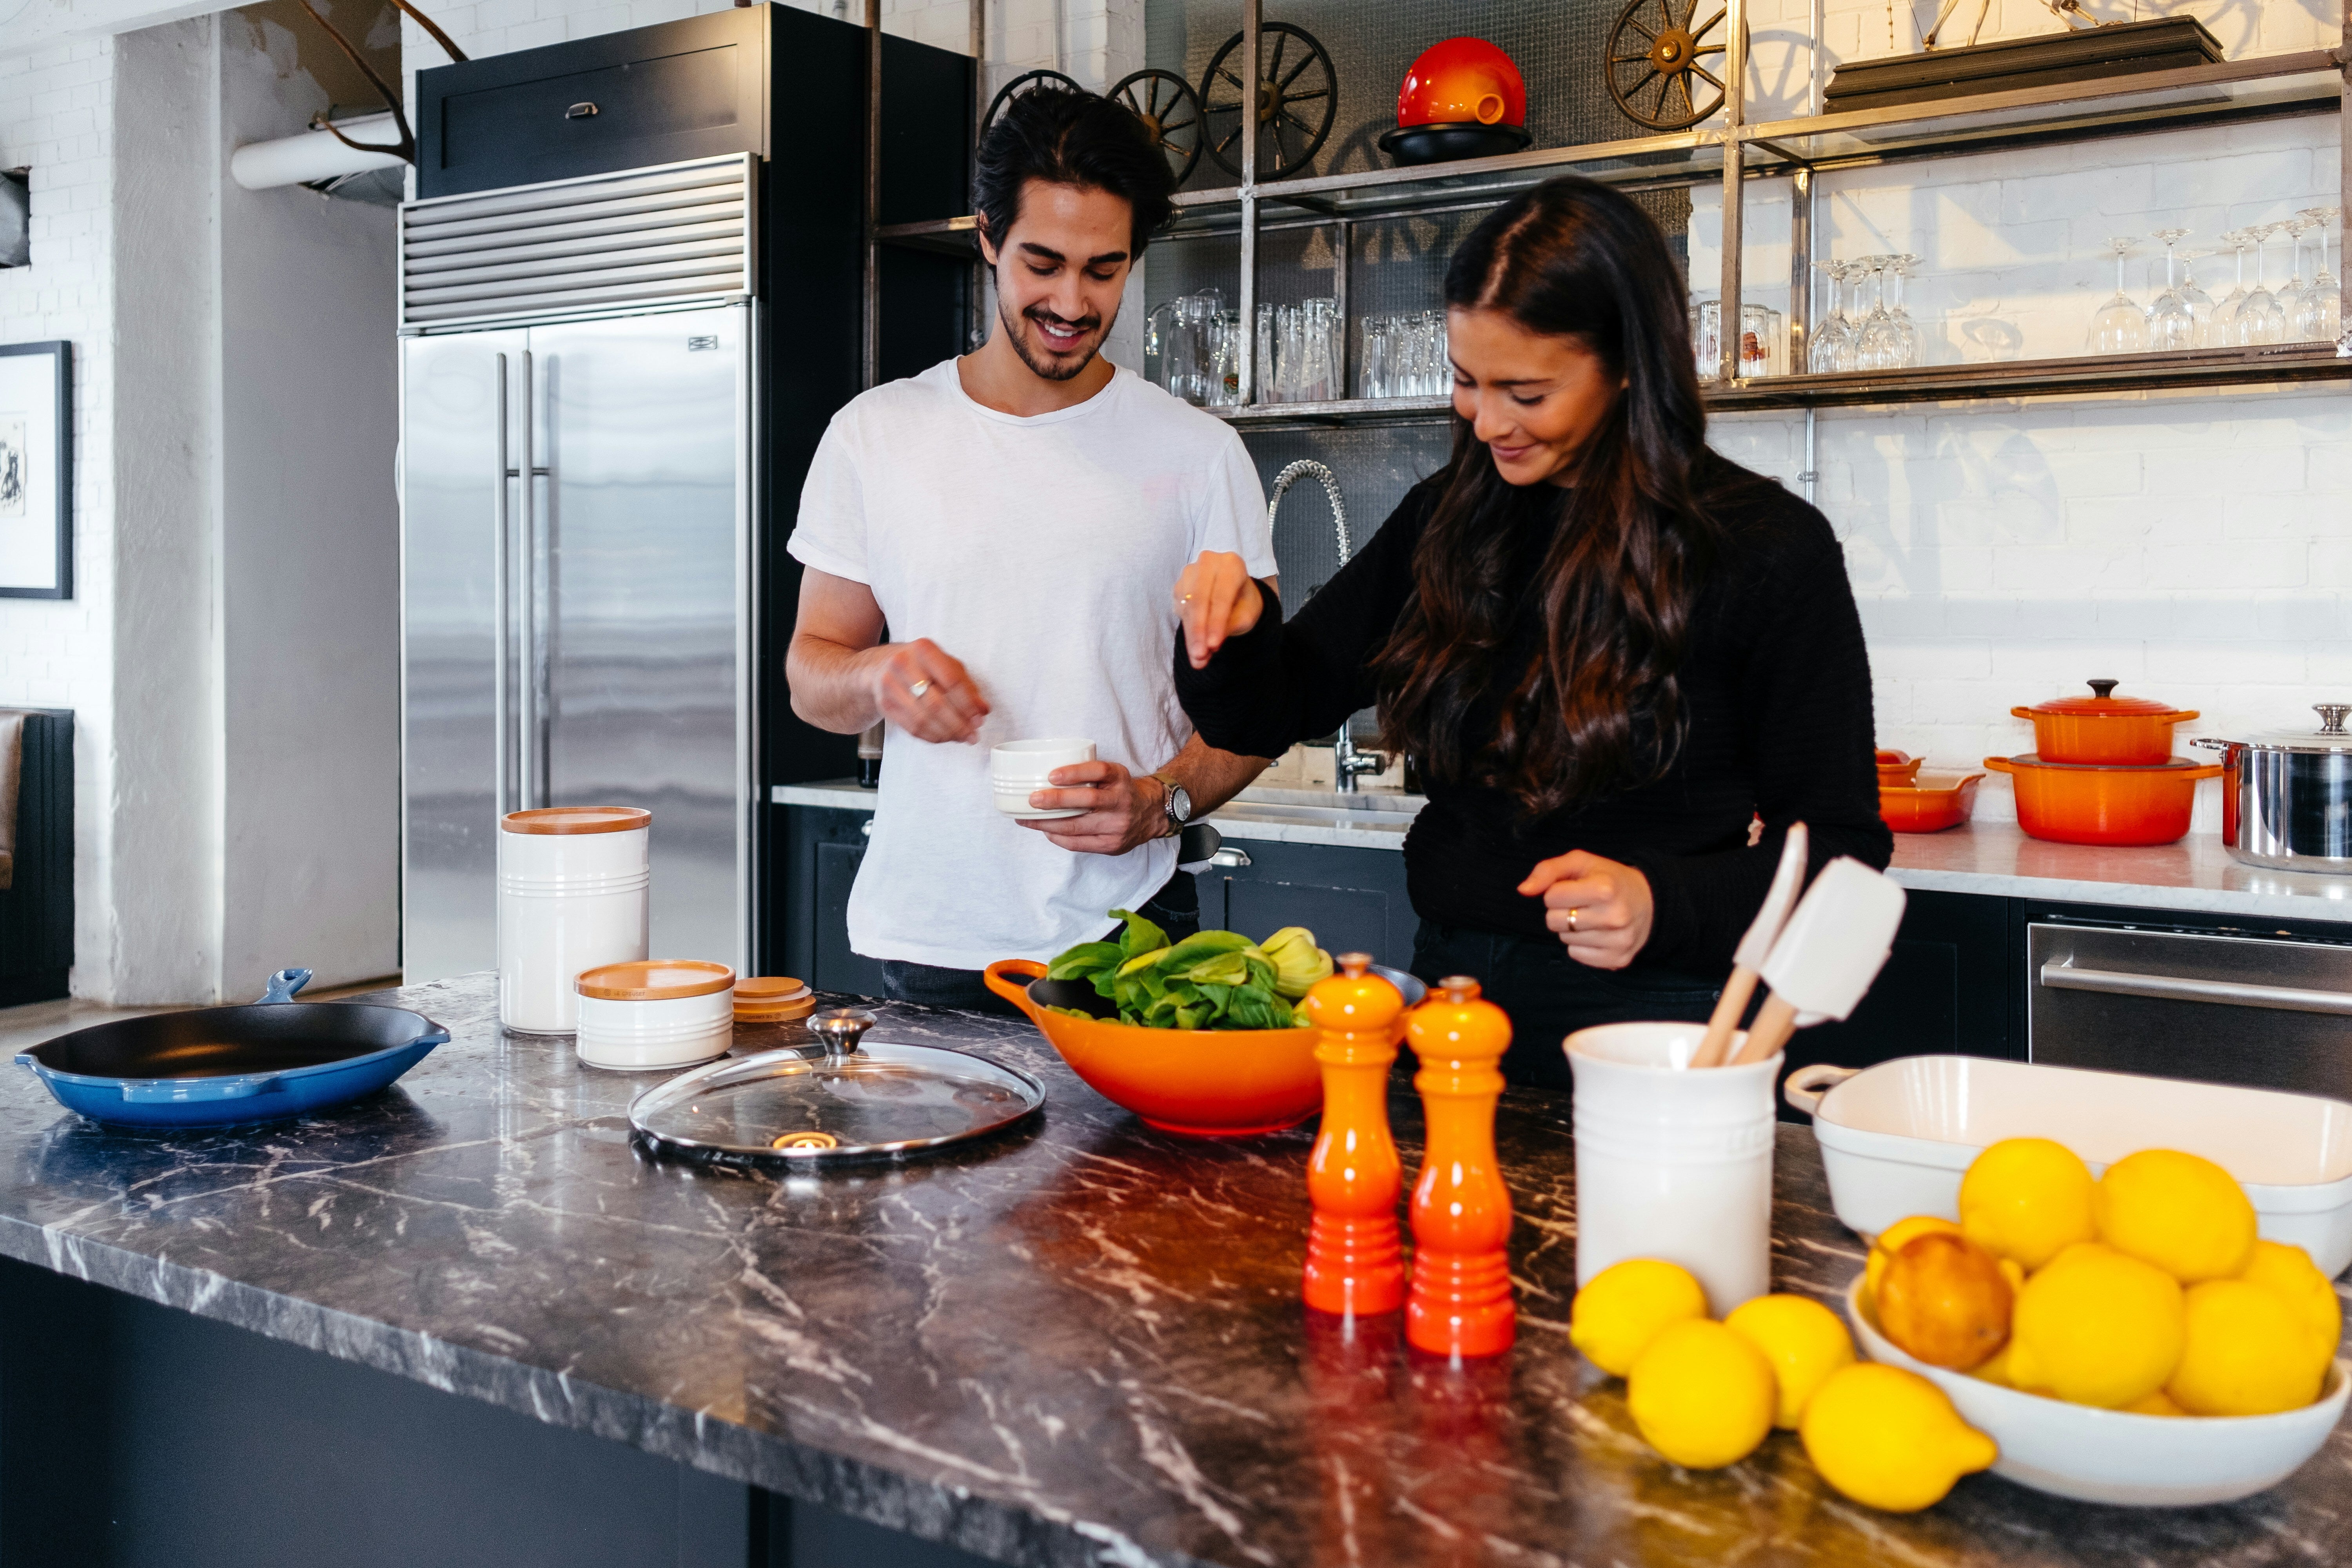
When you get into taking home cooking seriously, suddenly you are speaking about the joys of a ‘good, fresh lemon’, and having minor meltdowns over running out of onions – “but we always have onions!!”
The other thing that happens is you continue to challenge yourself. Yes, having a good meal rotation is the most important thing, but trying to reach gourmet-level is the real home cook dream.
Advertisement
Now, home cooks have taken to Reddit to share their ‘stupidly simple’ ingredients that have made their cooking taste more professional.
When it comes to cheese, choose quality when you can
Unsurprisingly, the cooks have a lot to say about cheese. User CompanyOther2608 says: “It’s a no-brainer, but blocks of good cheese instead of pre-grated or shredded”.
Advertisement
Breddy adds: “Good quality parmesan cheese.”
While Revolutionary-Bus893 changed my life saying: “I’m amazed how a few tablespoons of cream cheese can richen up sauces.”
When life gives you lemons, zest up your dishes
Sphinxyhiggins adds that they love to add lemon to spicy or savoury food, while crippledchef23 says: “I started adding lemon pepper to my spaghetti sauce and it changes things it a way I can’t describe. More tomato-y, but not acidic. Savory and deep and somehow sweet without any sugar.”
Revolutionary_Sir_76 is knocking the pineapple on pizza debate out of the park, saying: “Lemon on pizza or any kinds cheese sends me.”
Advertisement
As a fellow lemon fiend, I’m not writing it off.
MSG is almost always a good idea
Carpe-Bananum says: “A little MSG. Umami is your Daddy.”
If you’re not familiar, MSG (monosodium glutamate) is a flavour enhancer that’s common in Chinese cuisine but is also frequently used in tinned foods to enhance umamu flavours.
User BumblebeeNo3833 adds: “Came here to say this! MSG has made SUCH a difference in my cooking.”
Make the most of onions
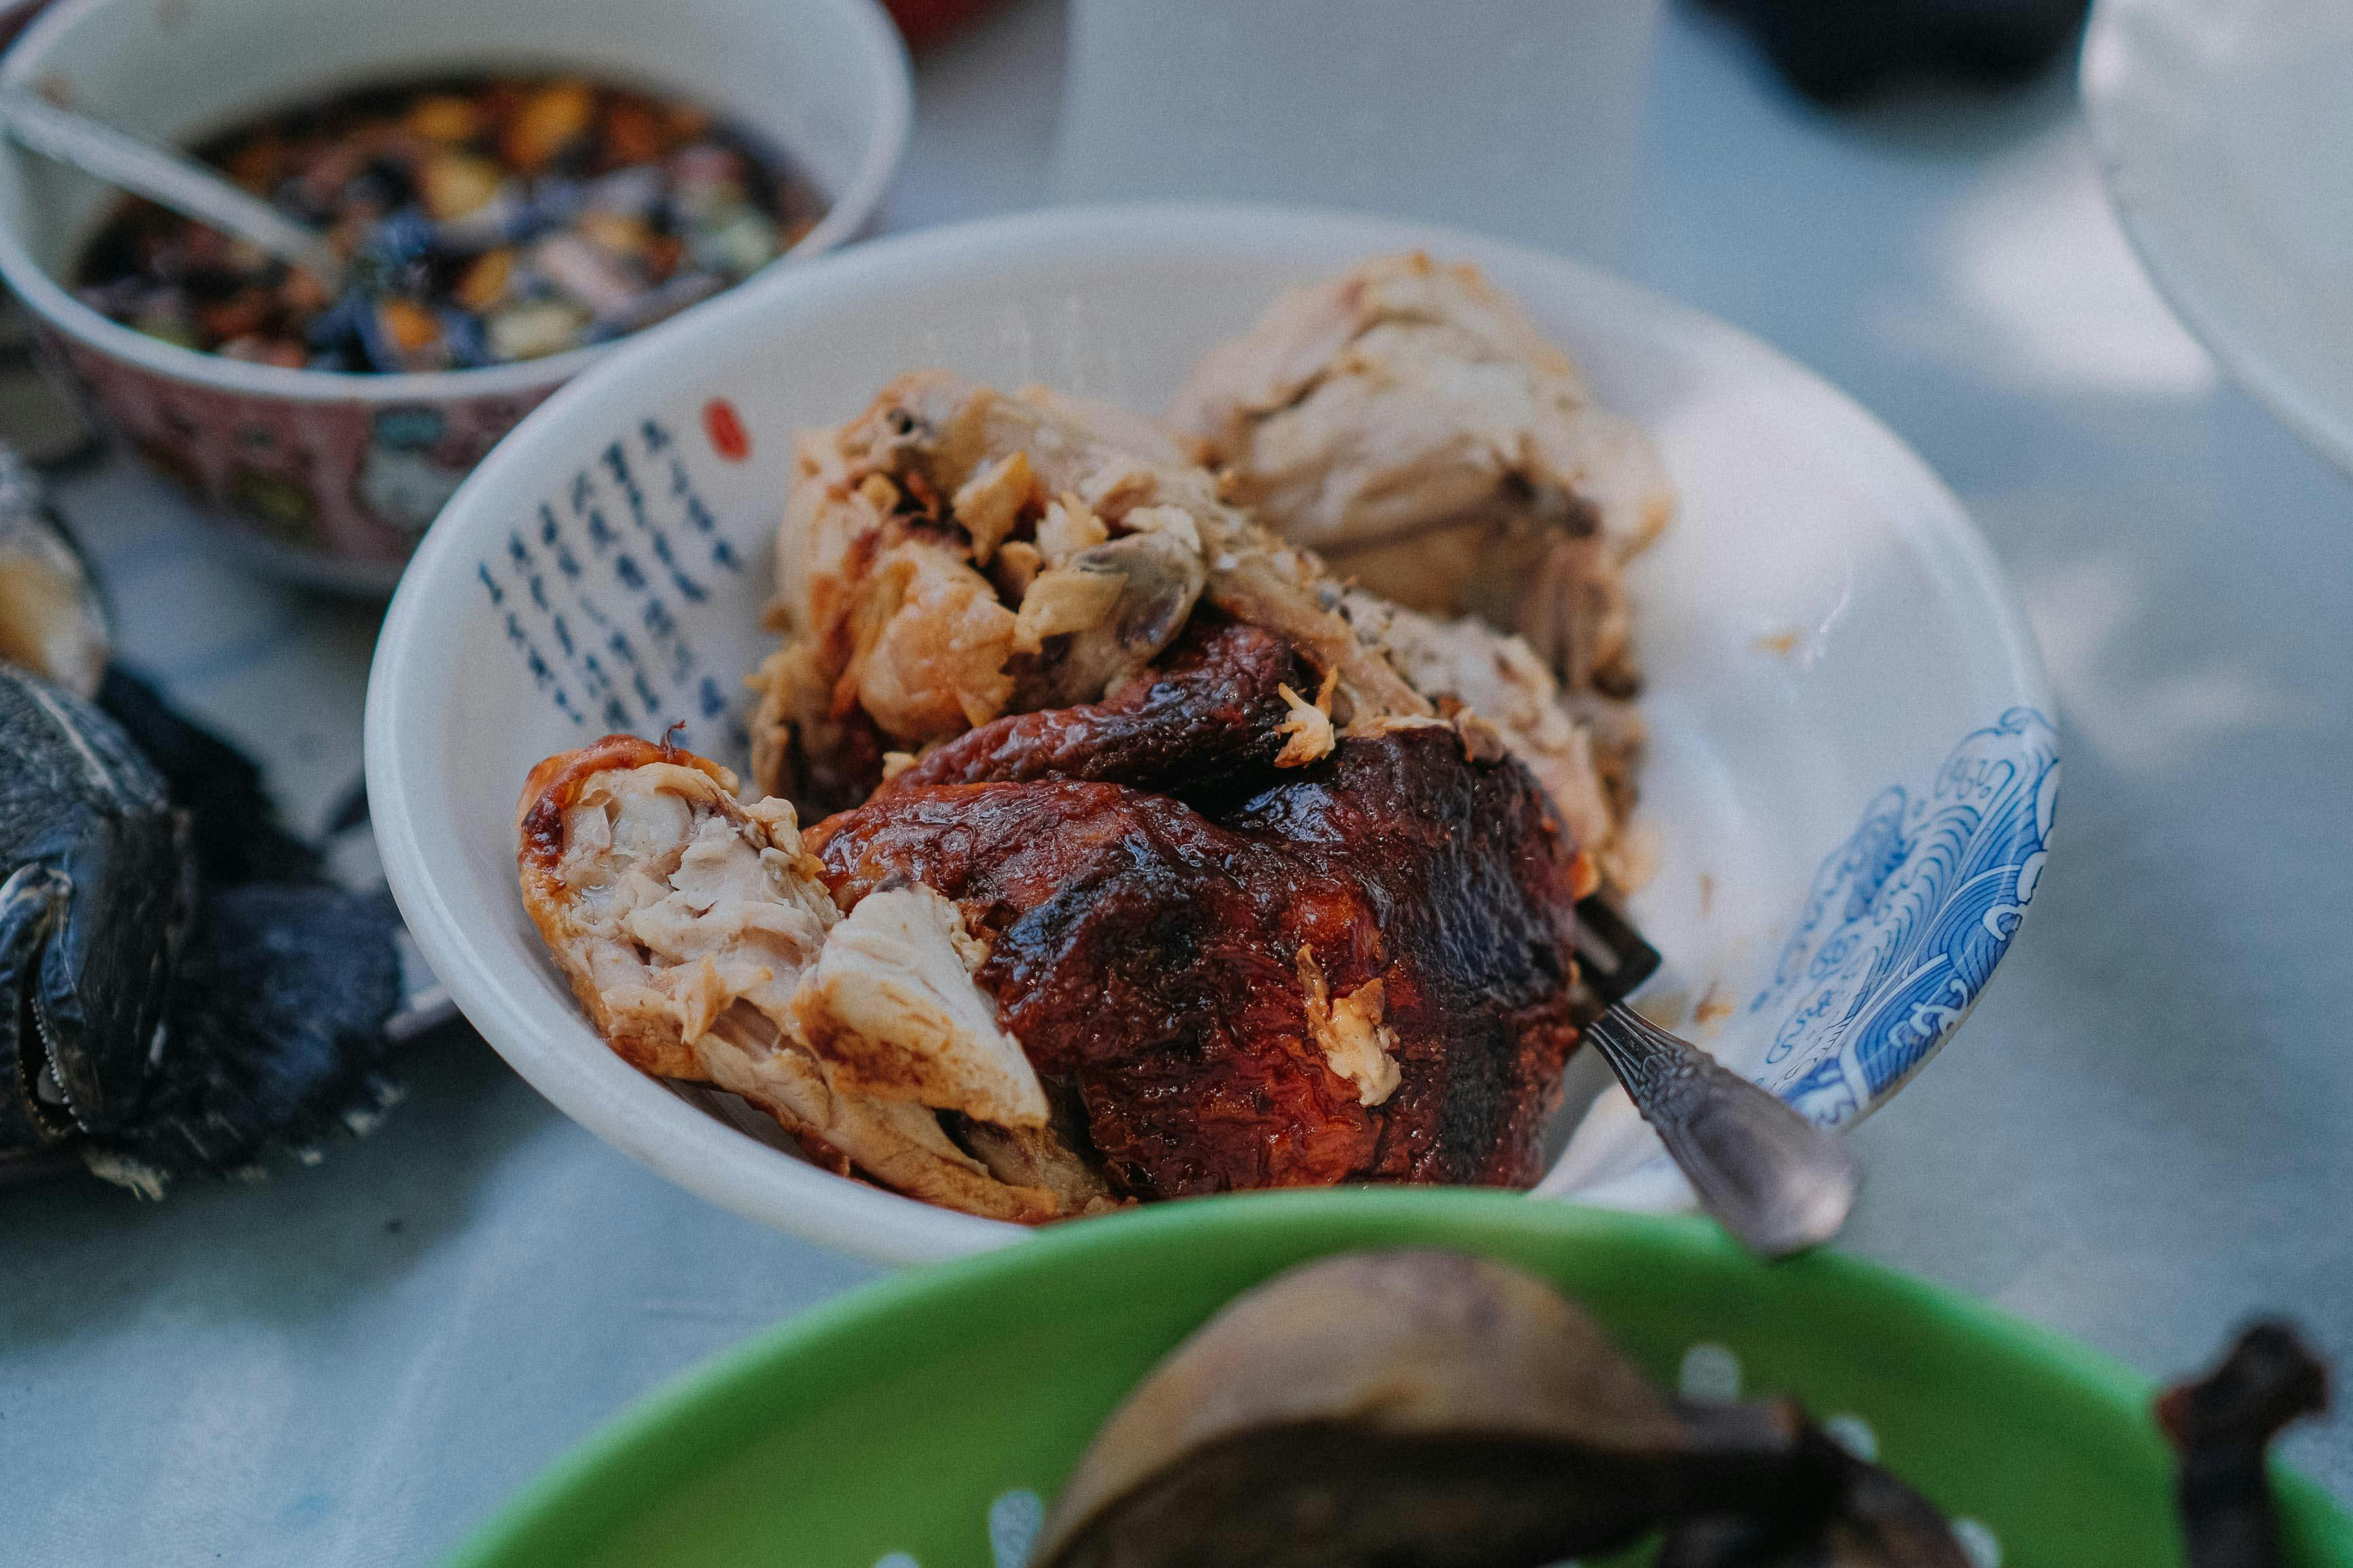
Uncle_Rat_21 says: “Not really a swap, but I caramelise a bag of onions every other week or so. Add it to all kinds of things.
“Spaghetti sauce, mashed potatoes, omelettes. Made some quesadillas the other night with some leftover rotisserie chicken and some of the onions. So good!”
Advertisement
Dasookwat adds: “Most important one: time. take a bit more time for things to sear, onions to glaze etc.”
Joro65 advises: “In a lot of dishes, shallots, instead of onions will take it up a notch.”
Making white sauce? Add some mustard
Catfist says: “Not really a substitute, but I add a dash of mustard powder to pretty much every white sauce I make, it adds just a bit of depth and everyone seems to love it.”
Itsnotnews92 adds: “I add a dash of mustard powder to my mac and cheese. Not enough that anyone would say “this tastes like mustard,” but just enough to give it a bit of pop.”
Advertisement
Rcoop020 says it even works with boxed mac and cheese.
I can’t wait to try some of these.