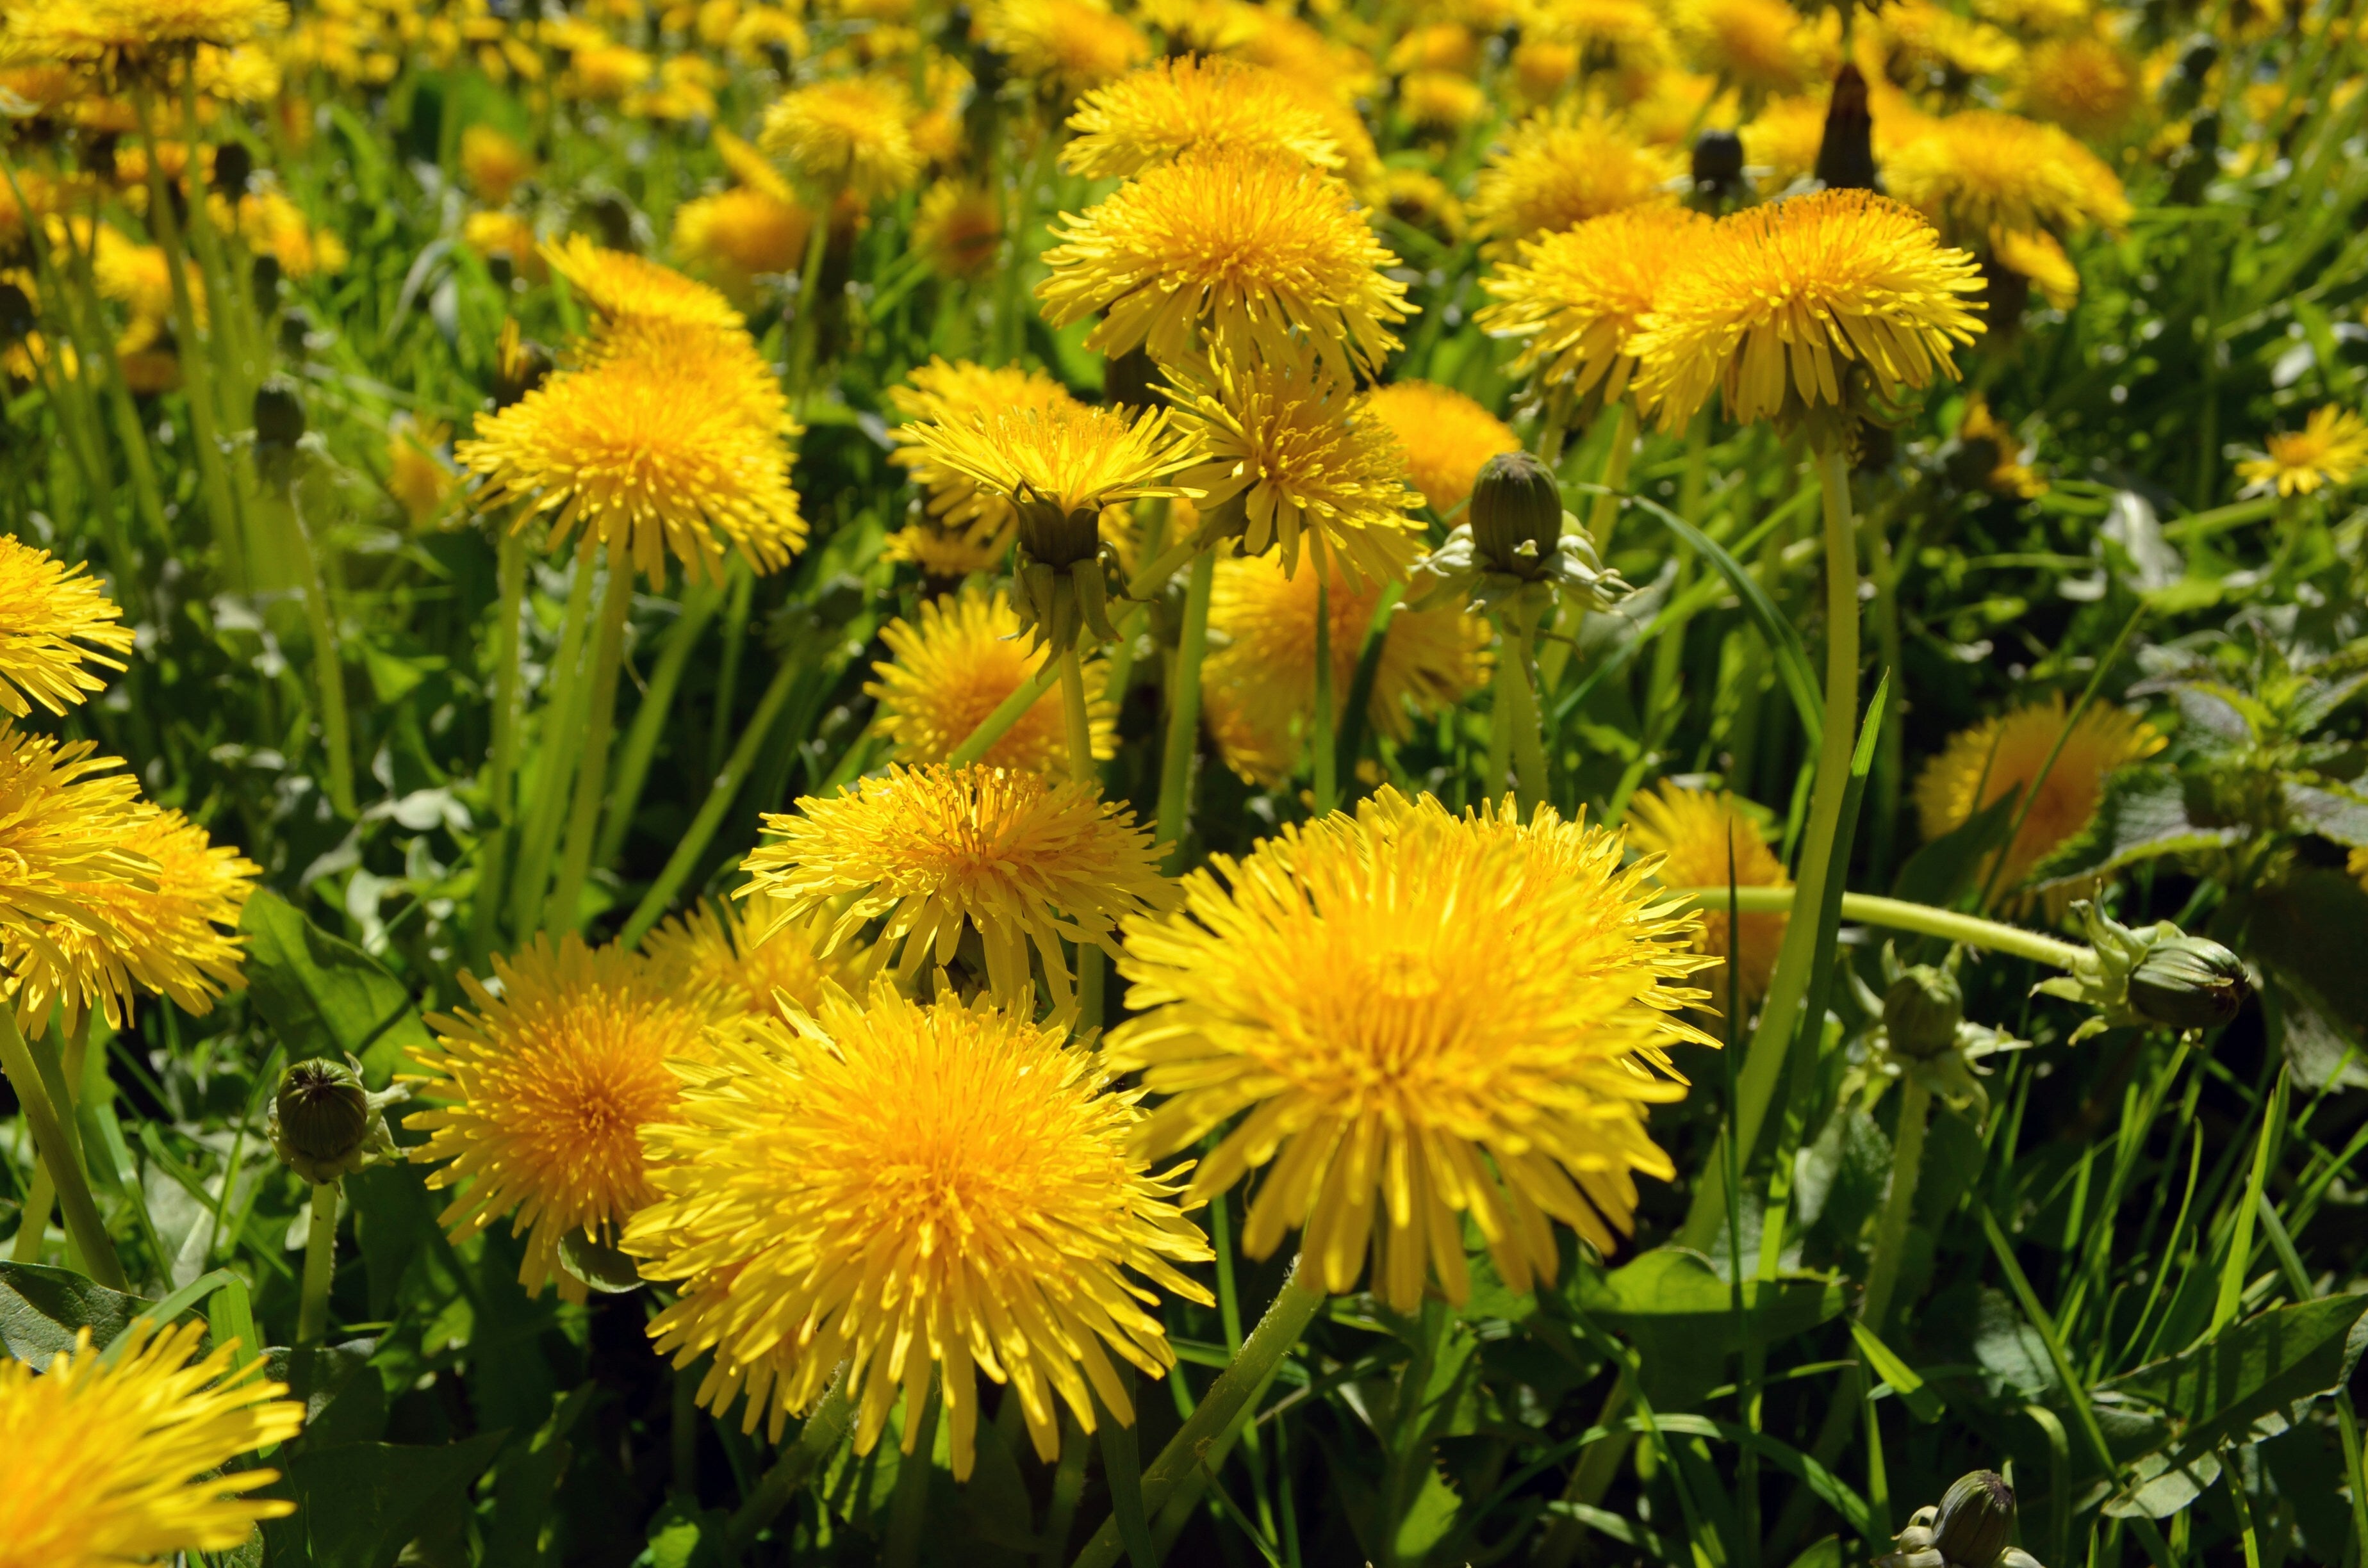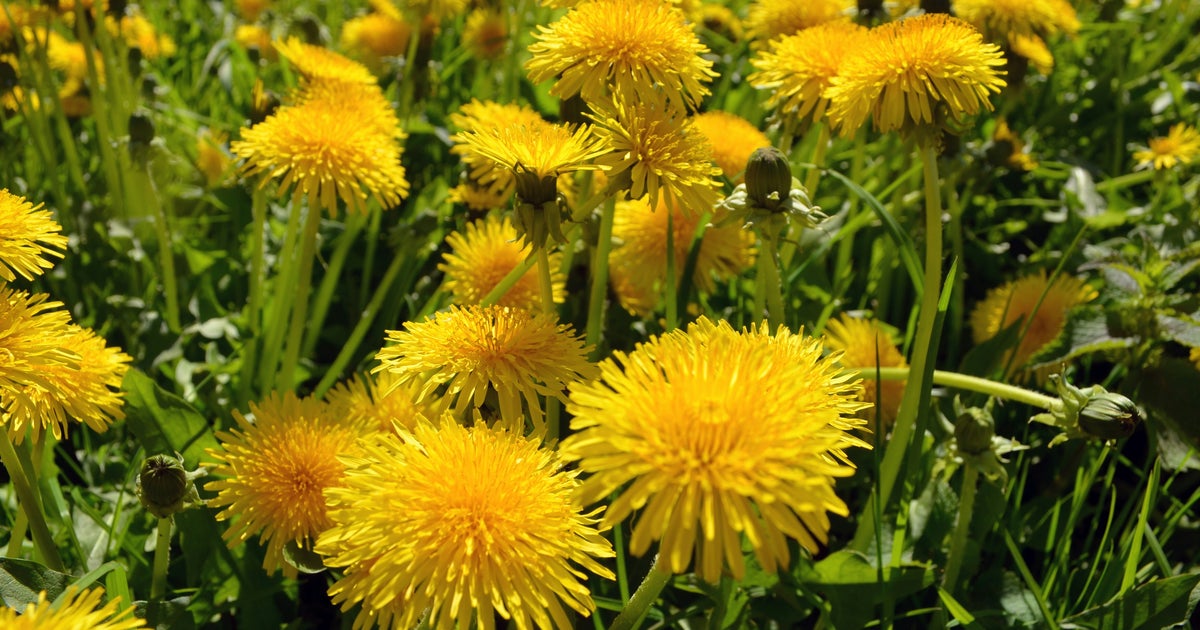
Sometimes treated as a weed, dandelions can be key to a healthy backyard. Not only do they help to feed hungry bees, but their seeds can nourish birds – including rapidly-dwindling greenfinch populations – too.
So perhaps it’s not surprising we can benefit from eating the plant, too. Dandelions contain a range of vitamins, potassium, iron, antioxidants, and prebiotic fibre.
Advertisement
Some in-vitro research suggests it could reduce cell inflammation (chronic inflammation is linked to worse ageing), too.
Speaking to the Cleveland Clinic, registered dietitian Nancy Geib said their leaves are “probably the most nutritionally dense green you can eat – outstripping even kale or spinach”.
Which means we probably shouldn’t be asking if we should eat dandelions, but instead focus on how.
Just make absolutely sure the dandelions you’re eating haven’t been treated with weedkiller or other pesticides, and clean them thoroughly.
Advertisement
5 dandelion recipes
1) Fried dandelion heads
This Appalachian recipe is pretty simple; baste dandelion flowers in eggs before tossing them in seasoned flour and frying them.
Reviewers of its Allrecipes entry called the meal cheap, easy, and tasty.
2) Dandelion green salad
Younger, more tender leaves are sweeter and milder, and are probably best for beginners. These are delicious blanched and sautéd with garlic and herbs.
Advertisement
But older, more bitter leaves can bear seriously strong flavours, like intense salty and sweet notes (just make sure to blanch them before eating). Try them in a salad with feta, bacon, maple dressings, and other punchy accompaniments, or boil them in soups or stews.
Be careful to thoroughly wash dandelion greens, young or old, before eating them.
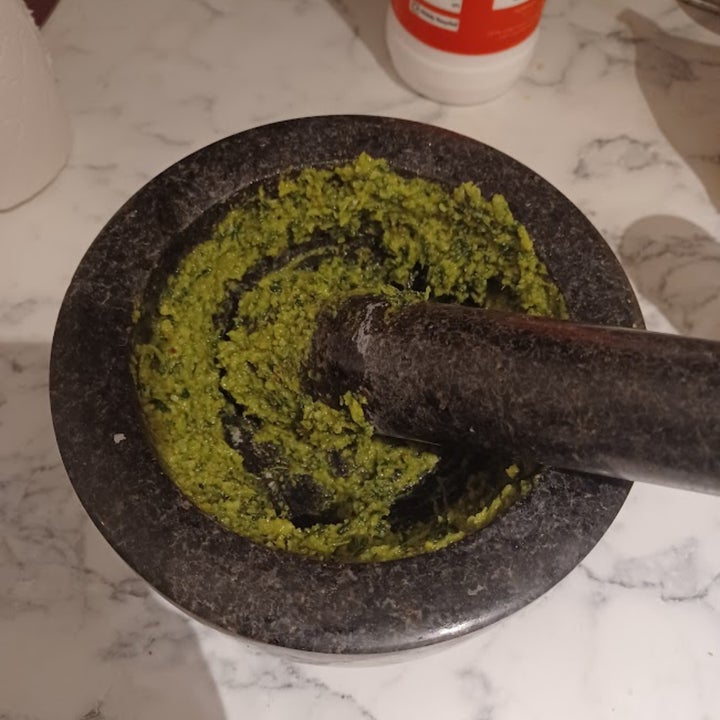
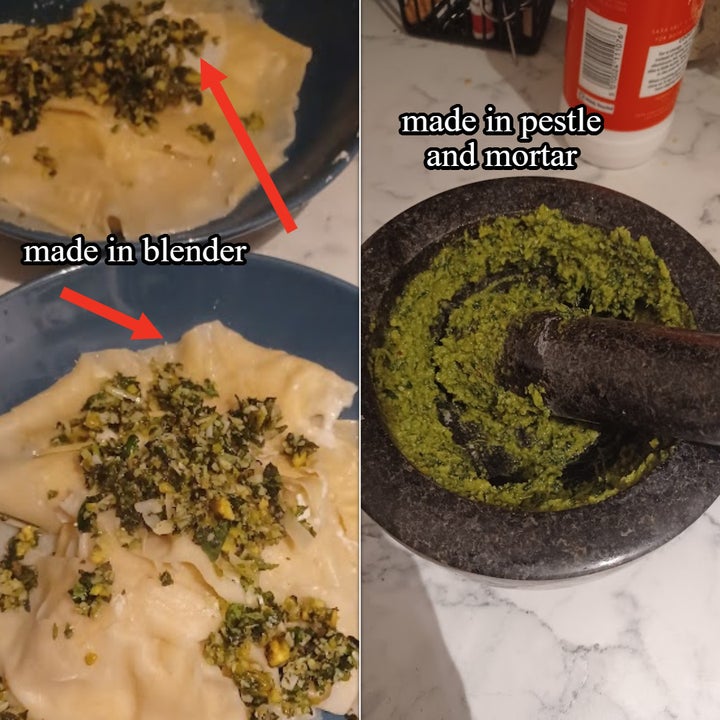
3) Dandelion pesto
Make it as you would a basil version: wash the leaves and blend them with pine nuts, oil, hard cheese, garlic, and salt.
Or, if you want a truly Italian finish, make it in a pestle and mortar.
4) Dandelion honey
Perfect for vegans and gastronomes alike, this recipe is essentially an infused syrup.
Boil the heads, after shaking them to remove any insects, with water and lemons. Let them sit to infuse for a couple of hours, strain the liquid, and then boil the flavoured water into a syrup with sugar (it thickens a lot as it cools).
Advertisement
5) Dandelion coffee
You read that right. The washed and dried roots of dandelions can be chopped small and roasted in an oven until dark brown and ground into a powder.
You can then turn that into a distinctly flavourful “coffee” by adding water.