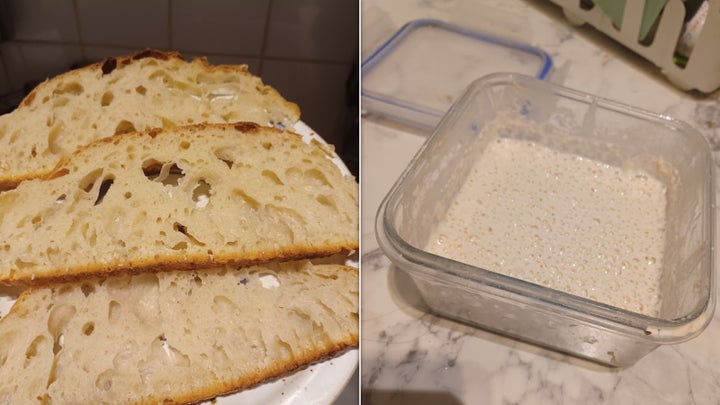
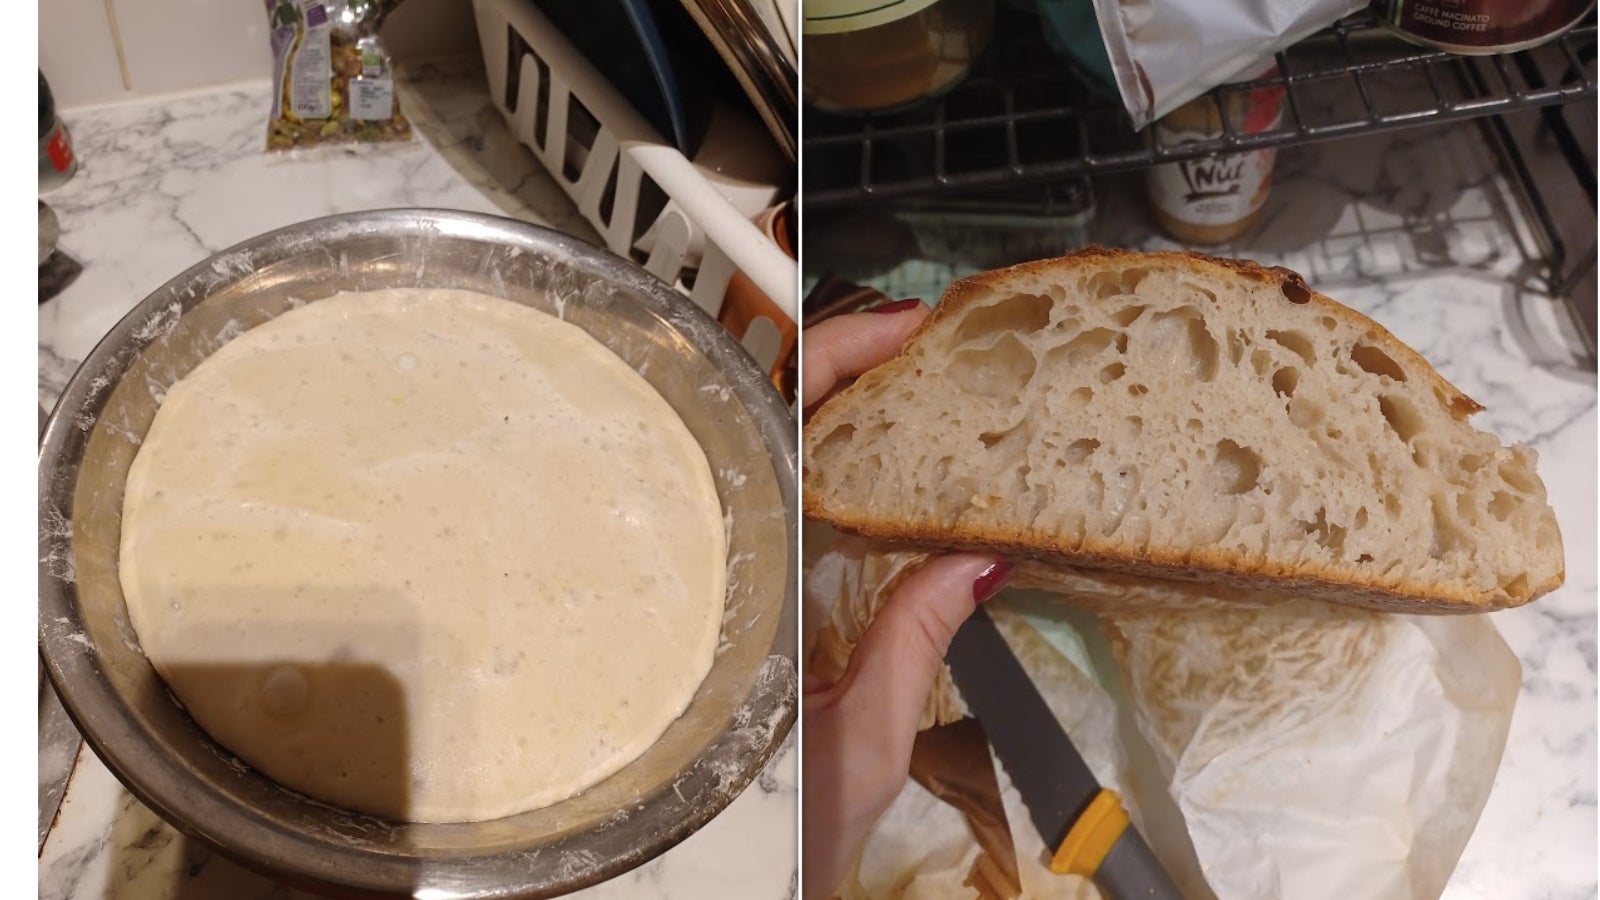
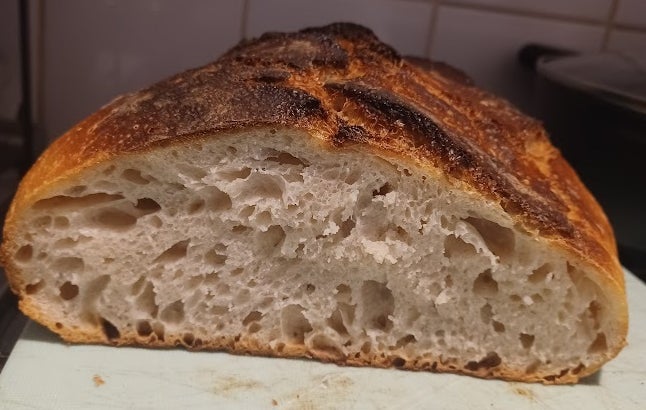
I’ve recently got back into making sourdough, but it’s brought about a problem I could never have expected: by day five, I sometimes have rock-hard leftovers.
I can’t bring myself to throw it away. But now I’m at week four, I’ve grown a little tired of bread-and-butter puddings.
So, when I found a recipe for torte peasana – an Italian dish that’s sometimes called “village cake,” “black cake,” or “milk cake” – I figured I’d give the baked custard a go.
Advertisement
Spoiler alert: it’s delicious.
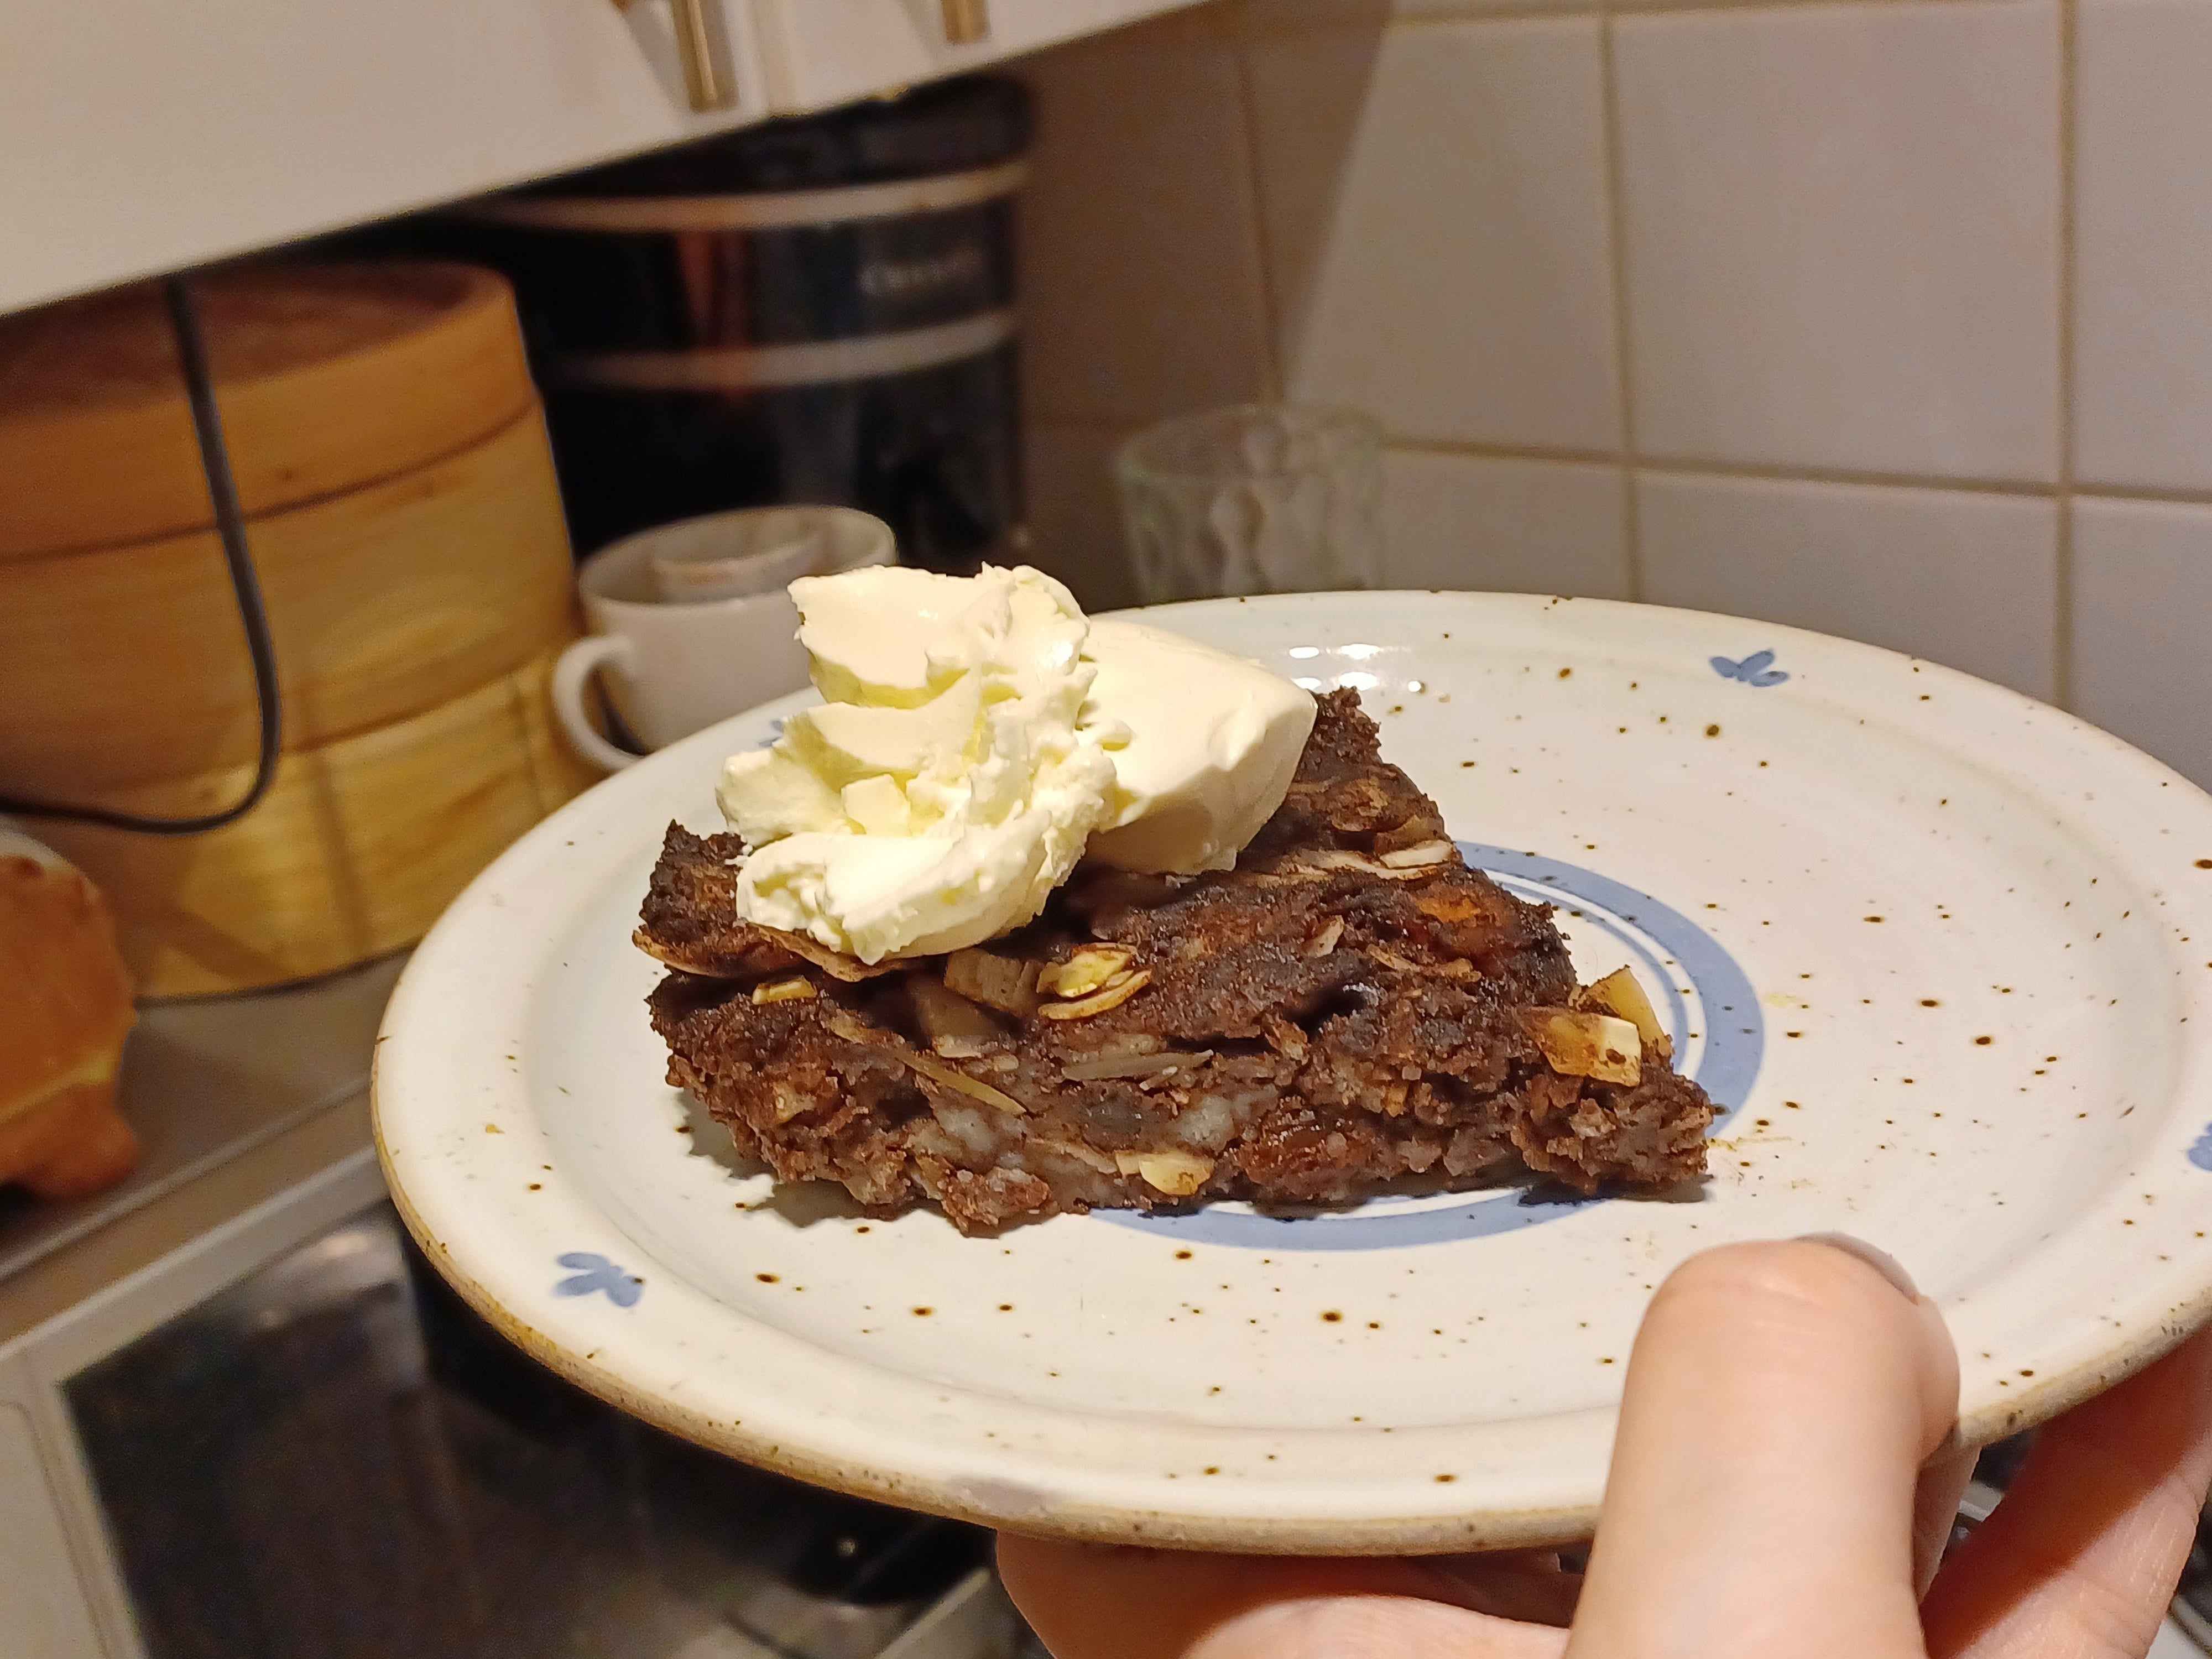
Amy Glover / HuffPost UK
What is torte paesana?
It’s a cake from the Lombardy region of Italy. There’s no one set recipe, but usually, it uses up stale bread in a thin custard made with sugar, cocoa, eggs, and milk.
Grappa-soaked raisins sometimes make an appearance (I soaked mine in orange juice, which is probably sinful but tasted delicious). Nuts, like almonds or pine nuts, are common, and crushed Amaretti biscuits occasionally feature, too.
Advertisement
But I would be doing the dish a disservice if I pretended its scope was that limited. You can include a variety of fresh or dried fruit (I reckon pears, dried cranberries, or figs would be delicious) if you want.
You don’t have to soak dried fruit in anything, but if you choose to, a variety of wines and spirits will do, as will some fruit juices.
You can add orange zest to the mix if you like. I used old sourdough, but you don’t have to: stale baguettes or even old ciabatta would be great too.
Advertisement
Cocoa can be substituted for chocolate, and vice versa. Like bubble and squeak, torte paesana has all the hallmarks of a brilliant leftover recipe: it’s endlessly adaptable, next to impossible to mess up, and almost inevitably delicious.
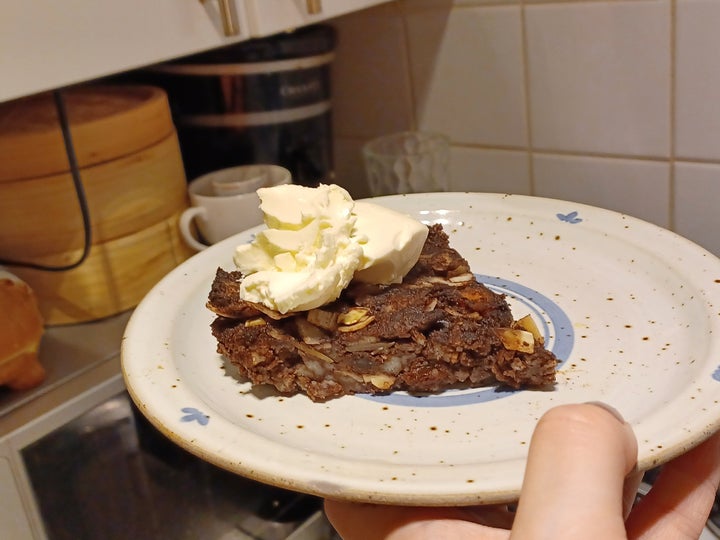
Amy Glover / HuffPost UK
How did it taste?
It’s impressively rich and deliciously squidgy; a bit like bread and butter pudding or French toast, but more grown-up and with a greater mixture of crunchy and chewy textures.
Advertisement
It’s addictive.
How do you make torte peasana?
Ingredients:
The recipe I ended up making for my tiny torte peasana was:
- 125g old bread,
- 30g raisins (other dried fruit will do),
- 30g flaked almonds (whole almonds or other nuts will be great too),
- 10ml orange juice (grappa, wine, coffee, or other drinks will do),
- 25g cocoa,
- 250ml full-fat milk,
- 1 egg,
- 3 tablespoons granulated sugar.
But this was only because I had a tiny amount of bread (125g) left, and it left me with a smaller, thinner tart.
Advertisement
Double what I have here for a bigger, better cake.
That would look like:
- 250g bread,
- 60g raisins or other dried fruit,
- 60 nuts,
- 15ml orange juice, grappa, coffee, or other soaking liquid,
- 50g cocoa,
- 2 eggs,
- 6 tablespoons granulated sugar,
- 500ml full-fat milk.
Method:
1) Heat up the milk. I was dealing with very old, tough sourdough. If your bread is softer, you may be able to cover it in cold milk and sit it, weighed down, on the counter for an hour or so, but I couldn’t do that. I brought the milk to just below boiling.
2) While this is cooking, place a tablespoon of e.g. grappa over the dried fruit. This can be done in a bowl. And if you don’t have anything “special” to soak them in, boiling water plumps them nicely; hot coffee would be delicious.
Advertisement
3) Pour the hot, but not boiling, milk over finely-torn bread and place a weight (I used a bowl full of ceramic beads) on top to ensure it’s submerged. Let it sit for about half an hour. Now would be a good time to add fruit zest if you want to include some.
4) Preheat the oven to 170°C ten minutes before the bread’s finished soaking. Line a tart tin (I used a pie tin, which worked fine despite my meagre half-serving) or a pie tin, though ideally not one with a removable base, as this can leak. If you are using biscuits, whizz them into a powder now.
5) Mash the bread. I used the end of a wooden rolling pin, but a wooden spoon would probably have worked. For especially stubborn bread, use a stick blender. Make sure the milk is not still hot; tepid is fine, but hot milk will cook the egg early.
Advertisement
6) Add the cocoa, eggs, and sugar. If you’ve blended or smashed up some biscuits, add them now too. Stir or mash them together. Don’t worry too much about how the batter looks: so long as there are no massive lumps of bread and nothing’s curdled, it’ll work.
7) Add the nuts and soaked raisins and stir. Then, pour the mix into the lined container and bake. For my mini-tart, it took 20 minutes. For the bigger one, it should be about 35-40 minutes. Check to see if the tart is firm.
8) Let it cool. Torte paesana gets better with age (allegedly: I didn’t wait long enough to check), so leave it overnight in the fridge if you can bear it. Serve with cream or creme fraiche, or (as I used) mascarpone, if you like.
Advertisement